Intro to Personal Automation: Stop Wasting Time with Paper Forms


I'm confident that you're wasting time in your daily technology interactions.
Between manually adding things to your calendar, sending status updates ("Leaving now, home in 15 min"), checking to see if that client paid your invoice yet...
...you might be spending an extra hour per day on things that could be automated.
If you have a basic idea of how things need to work (I want THIS information to end up HERE, then get changed like THIS), you can likely figure out a solution using what I call “Personal Automation”.
Two tools have become wildly popular in the realm of web tool automations: Zapier and IFTTT. How do these services work? Well, they rely on the new ecosystem of business apps that are changing the way we all work.
I'm going to talk more about Personal Automations in future posts. For today, I’m going to explain one way of using these tools to replace paper forms with a digital form that sends automated responses. We’ll learn how to save hours of time with just a few minutes of work.
Example scenario: An elementary school needs to update their School Directory.
It’s time for a school to update their School Directory of family contact information. In the past, the teachers would send home paper forms in each kid’s homework folder. Parents filled out the forms and sent them back to school, either with their kid or via the mail. Parents wouldn’t know if their information would be published properly until the directory was printed and done.
There are many problems with this approach:
- Paper cost and waste
- Staff time wasted keying all the data from the paper forms into a spreadsheet
- Potential for error in translation of handwriting
- Lack of communication
There is a better way!
You can easily collect data via a digital form, compile it into a spreadsheet, and with a small automation, you can even pipe back an email acknowledgement that the submission was received.
This form can be filled out while you’re at work, at home, and while you’re sleeping, all the while collecting validated data cleanly into a spreadsheet, and sending out thank you messages to the parents. A piece of cake. And you’re the hero next time you run into a fellow parent at school: “Hey! You did this year’s School Directory, right? I’m so glad my name was spelled correctly this time!”
Below we'll go over how to setup a basic public data capture and acknowledgement with a free Gmail (or Google Apps) account connected to a free Zapier account.
Time to set up: 30 minutes. Time saved: Many, many hours!
Let's Get Started
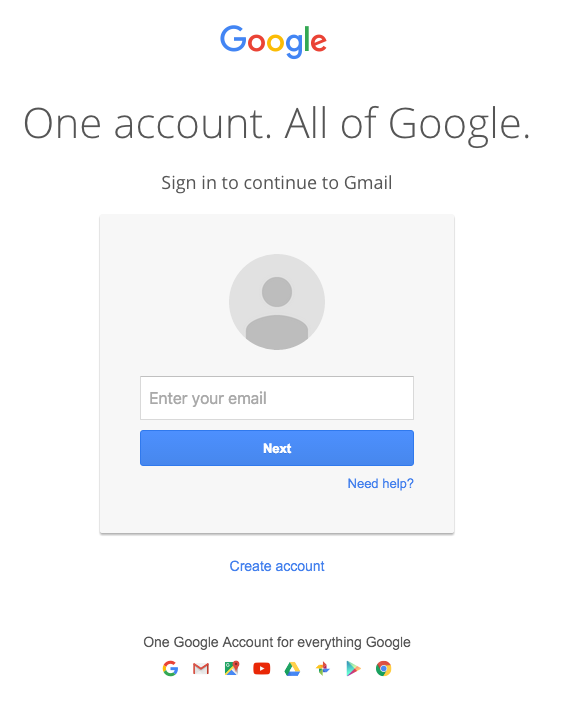
Sign in to your existing Gmail account (or create a new Gmail address) in a new tab in your web browser.
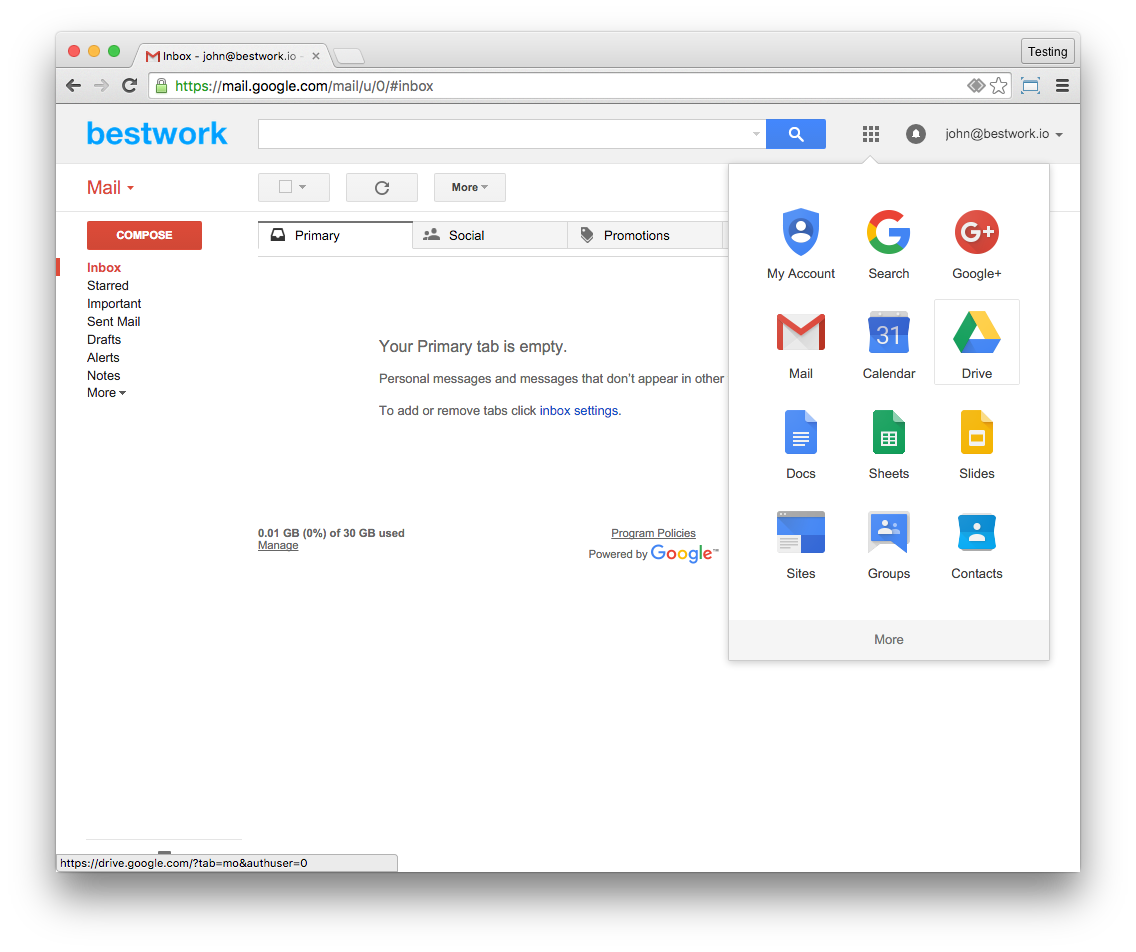
Click the little grey “three-by-three” grid icon in the top right-hand corner of the window, then choose Google Drive.
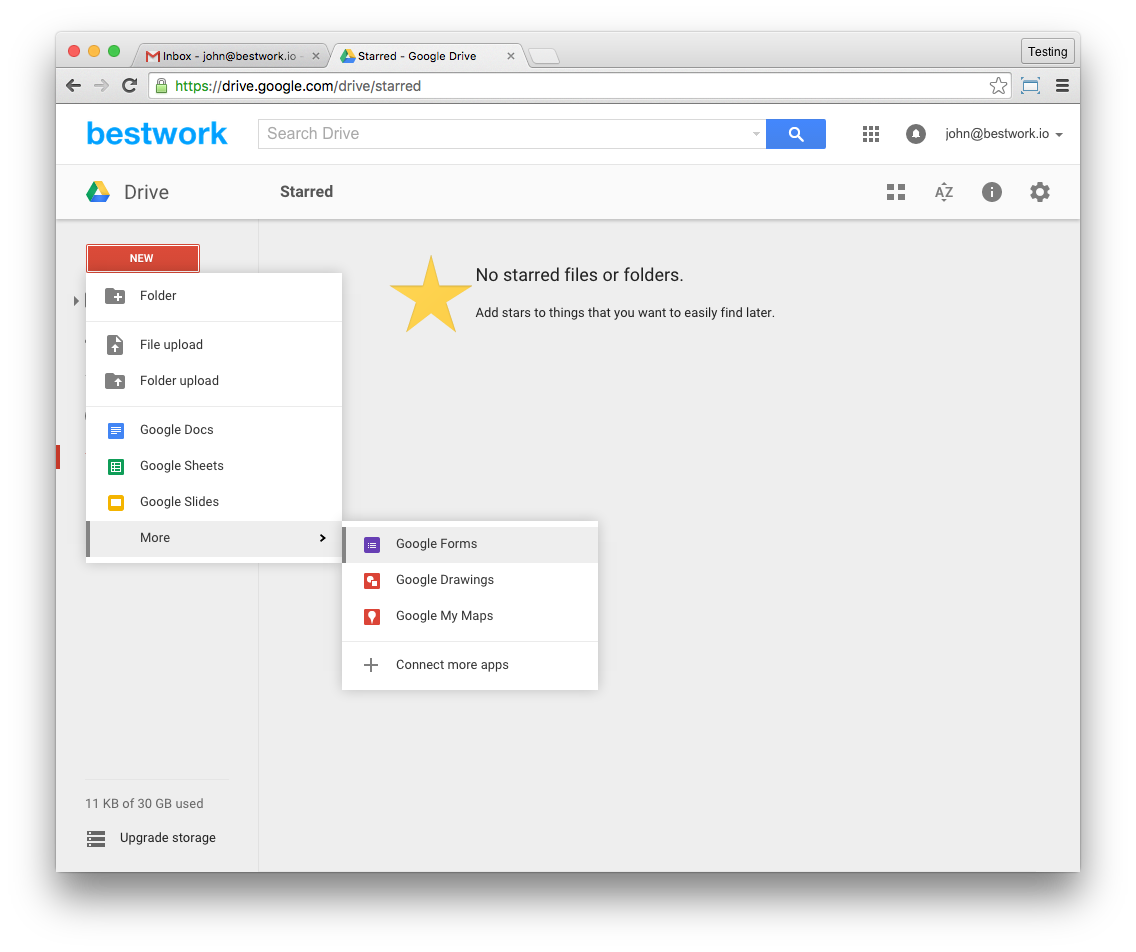
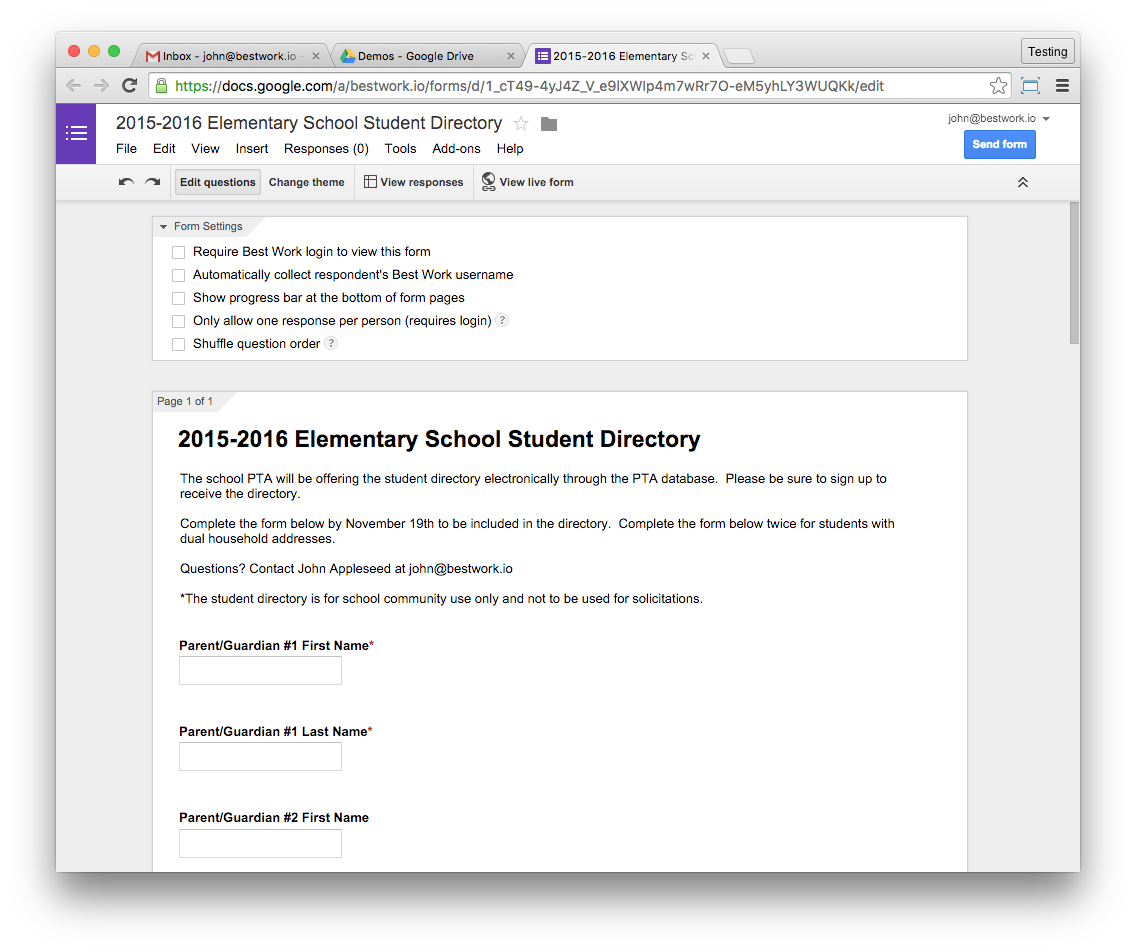
Google Drive will open in a new window. Press the red “New” button to create a new document, and navigate to the “Google Form” option. Google Forms are amazing and worth exploring for the many things they can do to help you capture basic data.
From here, you’ll create the new School Directory survey as a digital form in the Google Form. It’s easy and intuitive, no more complicated than creating tables in a Microsoft Word document for printing to paper.
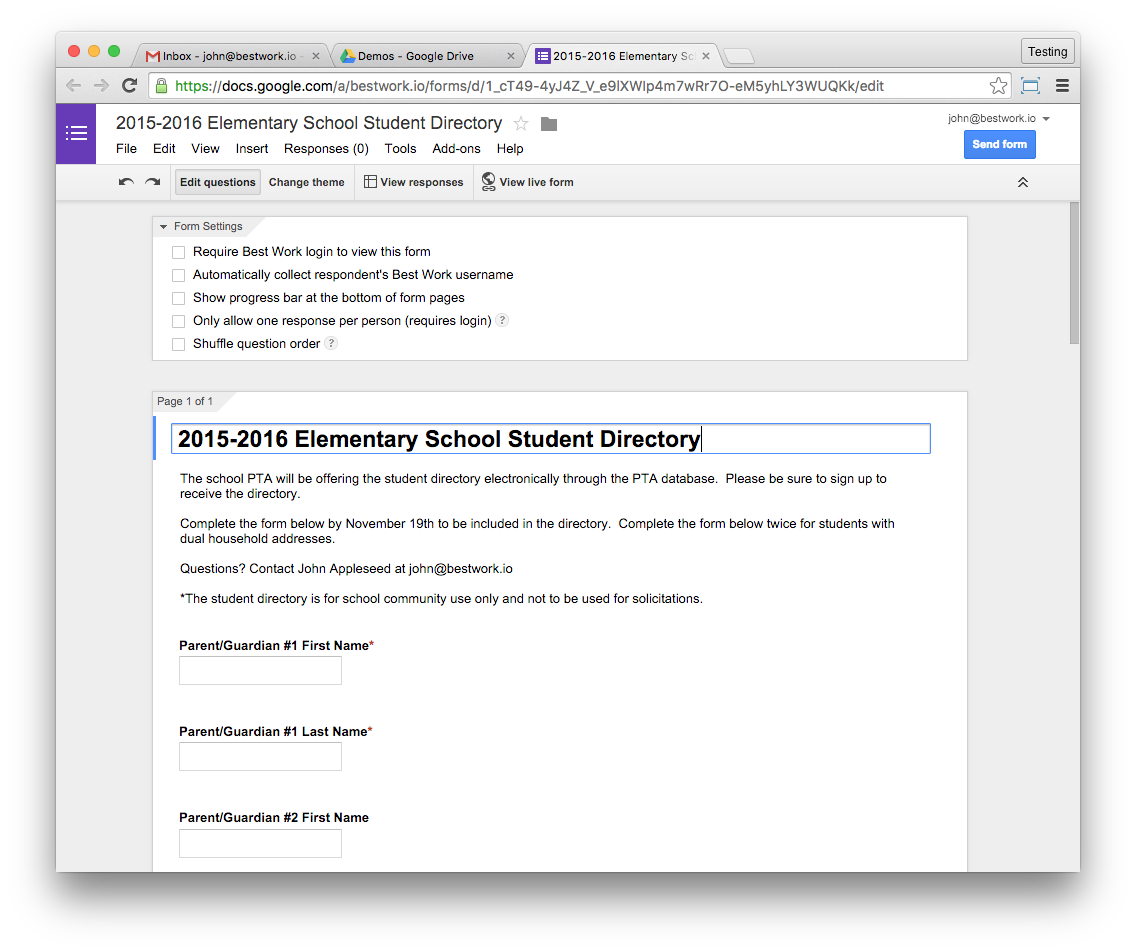
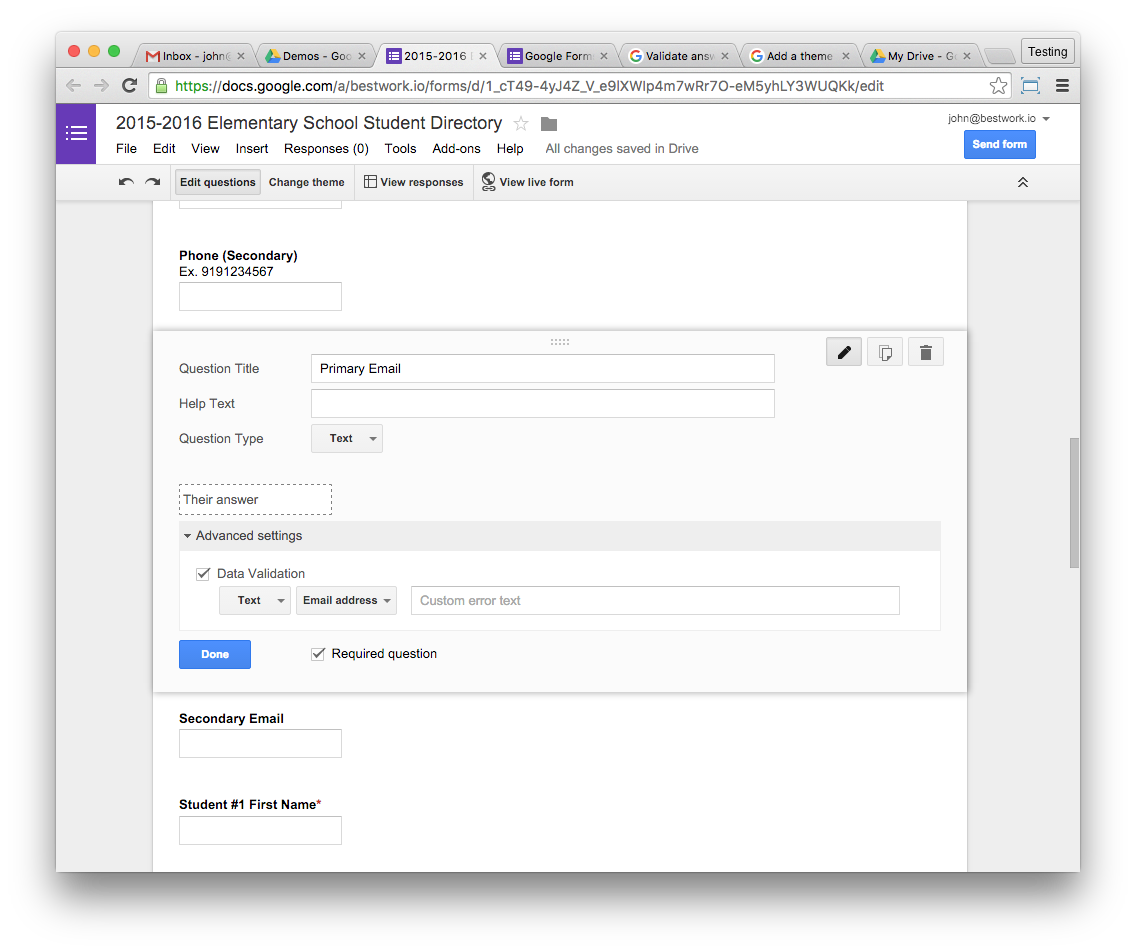
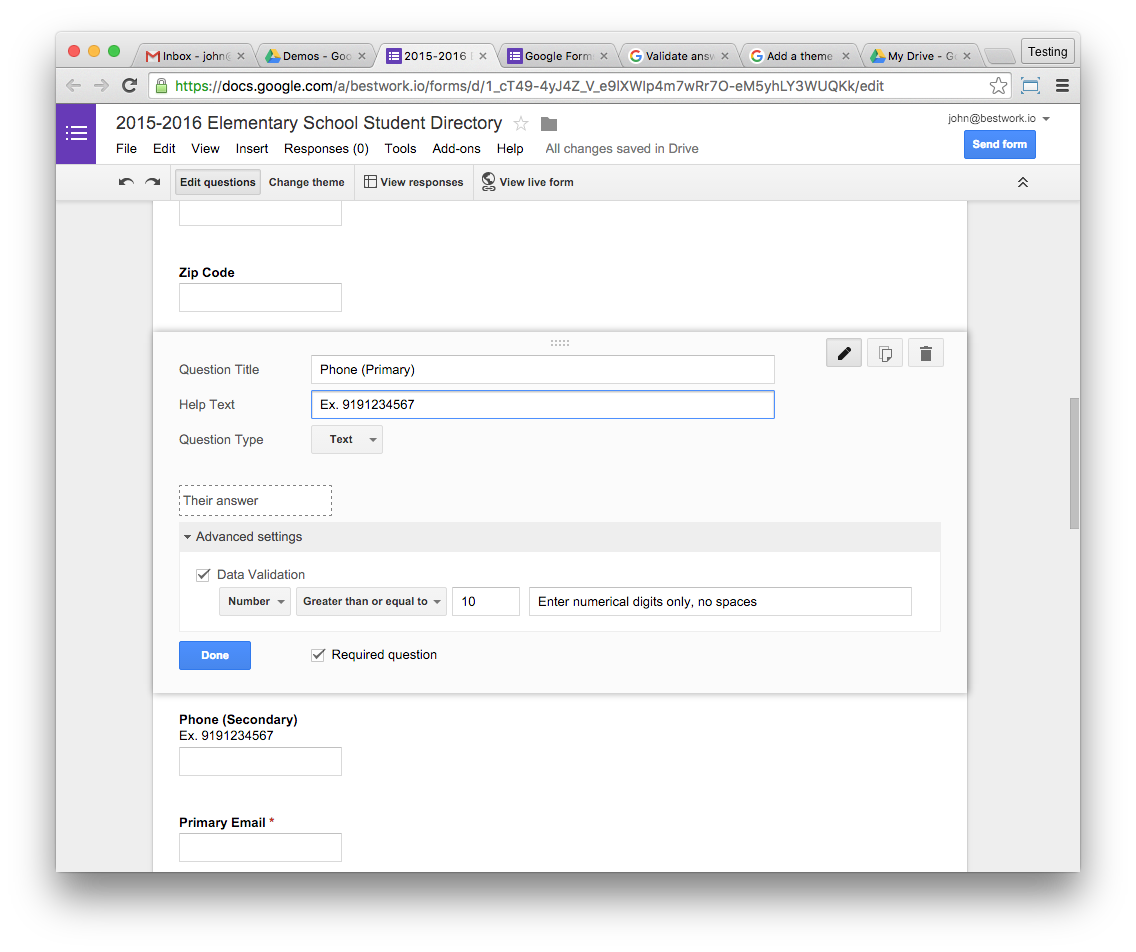
Better than that static form, you can set yourself up for success right from the get-go by doing basic data validation for your fields—things like making sure email addresses and phone numbers are correct.
Lastly on the form, you’ll want to make it look great so that people will use it—and feel good using it.
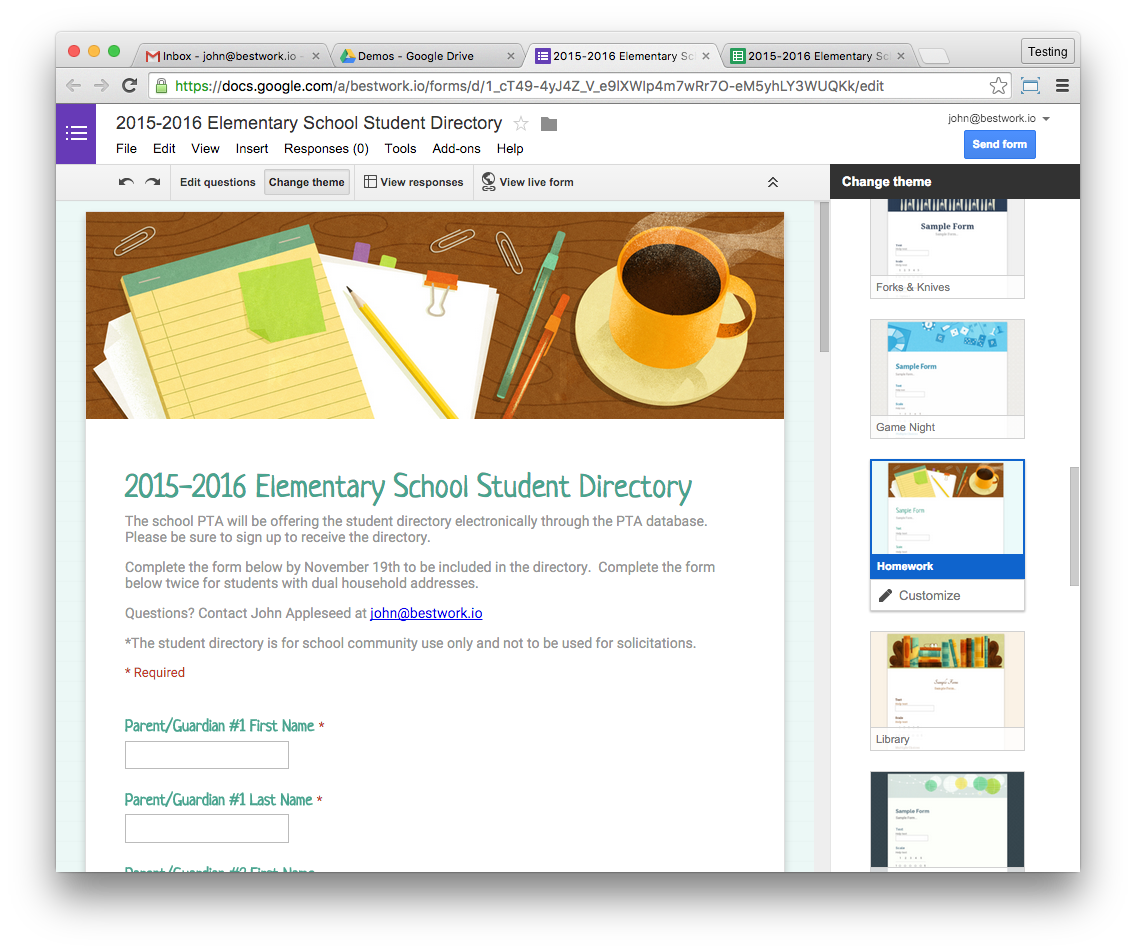
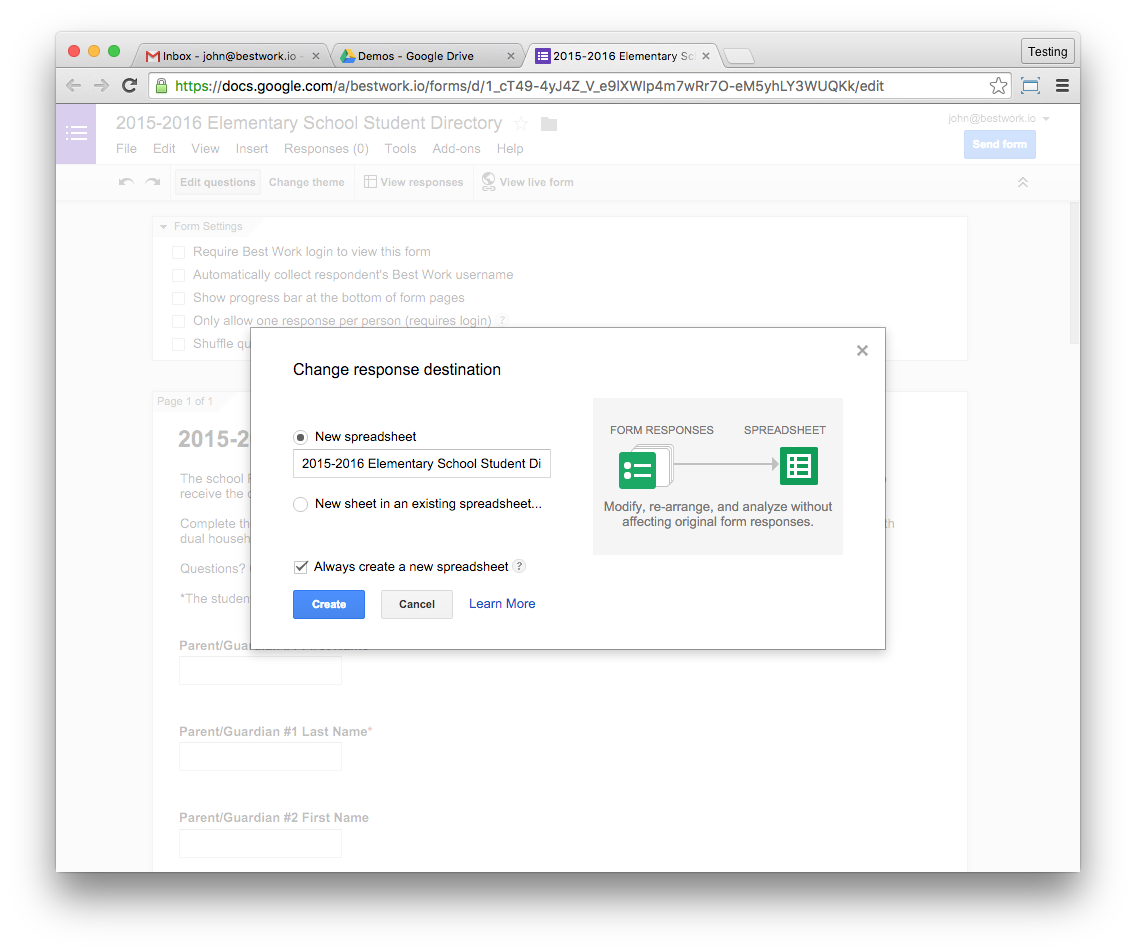
When you’ve got all your questions and answers finished, wrap it up with nice intro and closing message. Before we test it, we’re going to do one more thing: create a collection depot for our survey submissions.
That collection depot is a Google Spreadsheet. Every time our form is filled out, it will create a new row in a the spreadsheet. To activate the new sheet, click “View responses” and name your Responses sheet.

Test your form with the “View Live Form” button and you’ll get your beautiful new form in a fresh browser tab. Review it for any changes or fixes, then do a sample submission.

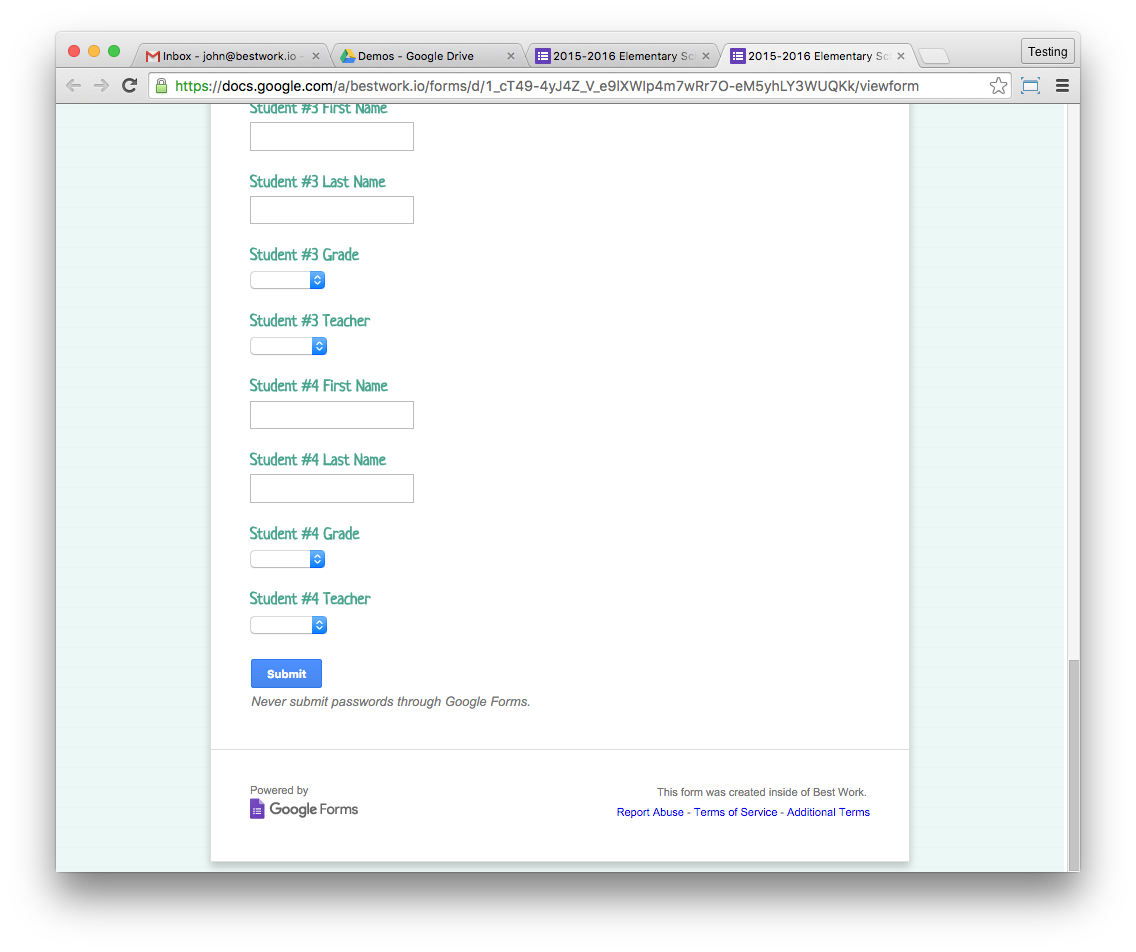
Double-check your Responses spreadsheet for the test submission you just did. Boom! You’re in the data collection business.
Now, all that we’ve covered so far is hardly different than a SurveyMonkey or other tool you may have used before—fill out a form, get the results in a spreadsheet. So 2005!
Here’s where the Personal Automation kicks in—we’re going to pipe this data out of Google, act on it, then pass it back into your Gmail account to send a confirmation email automatically, and drop a sent message receipt in your Sent Items.
Now We're Ready to Automate
Open a new tab in your web browser, go to Zapier, and sign up for an account. Zapier is an easy automation platform that helps you “unlock the hidden power of your apps." Great slogan (and true).

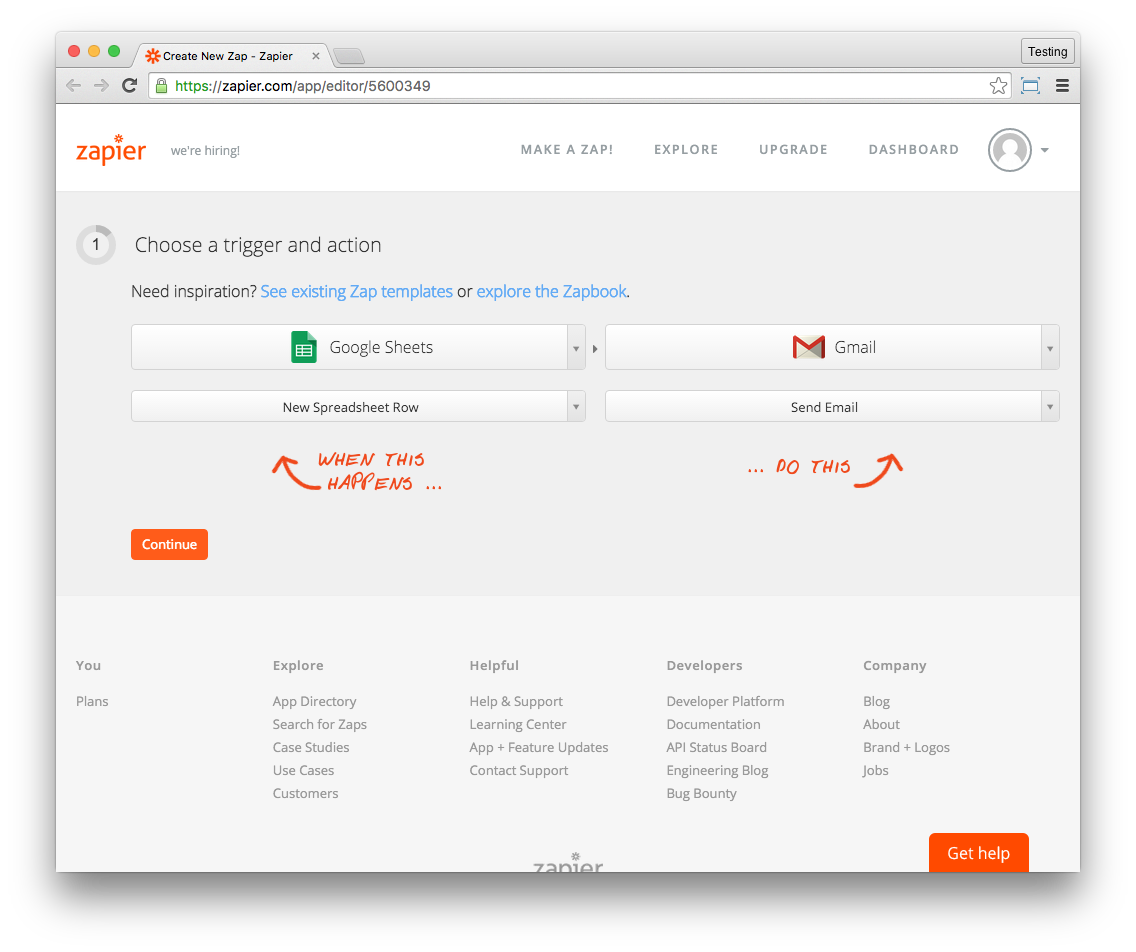
The Zapier tool is all about “zaps”, their term for quick automation tasks. So, start off by making a new zap with Google Sheets and Gmail.
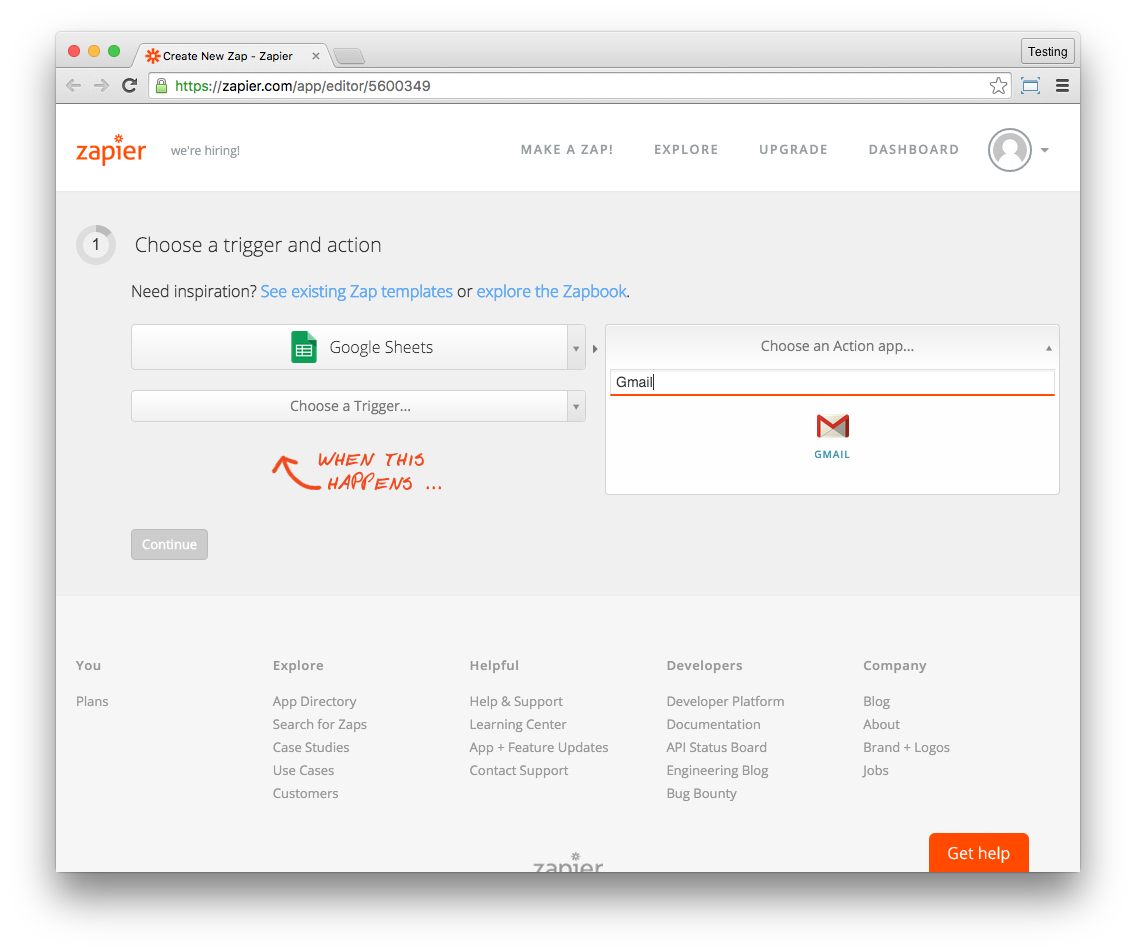
Then we choose the actions we want to see the automation perform—when our form drops a new spreadsheet row in place (because someone has submitted a new entry), we want an email to be sent.
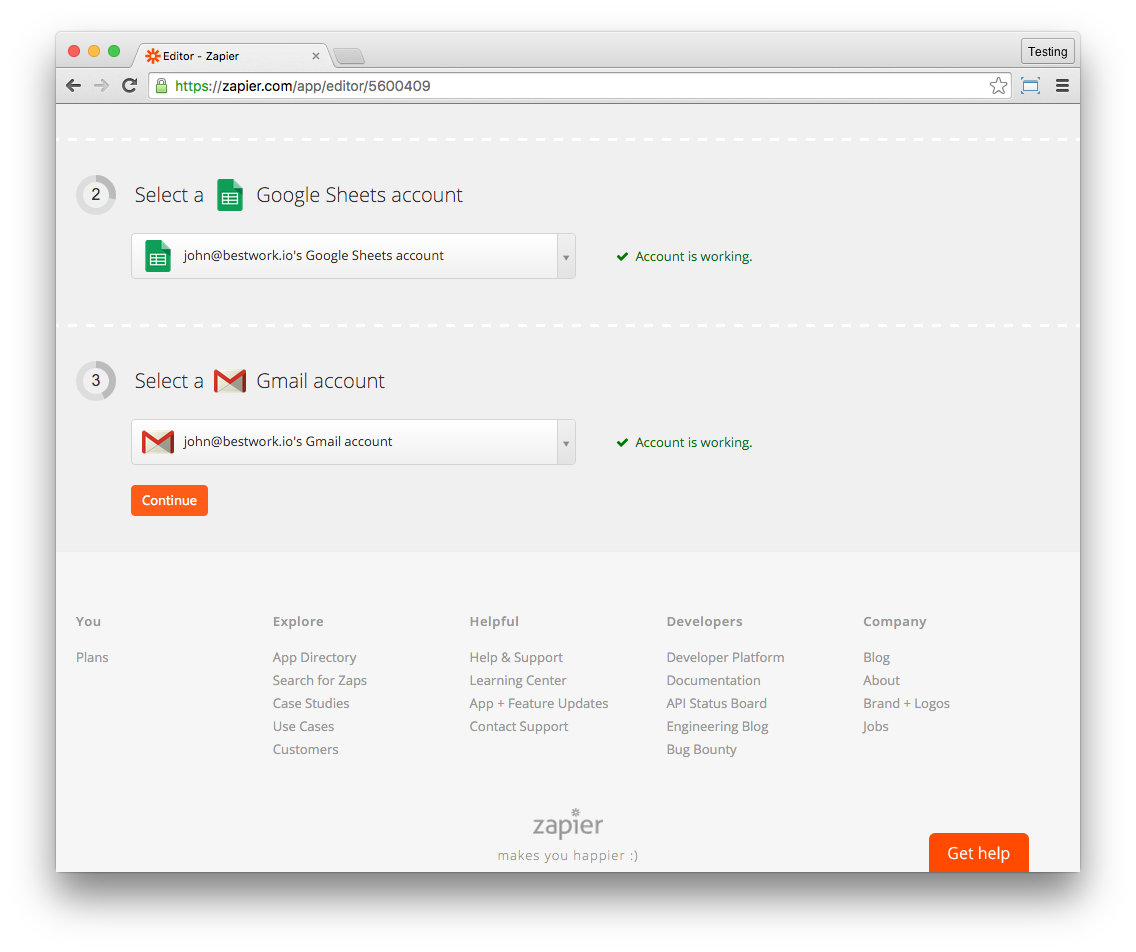
Now we’ll connect and test our Google tools, including Google Sheets and Gmail.
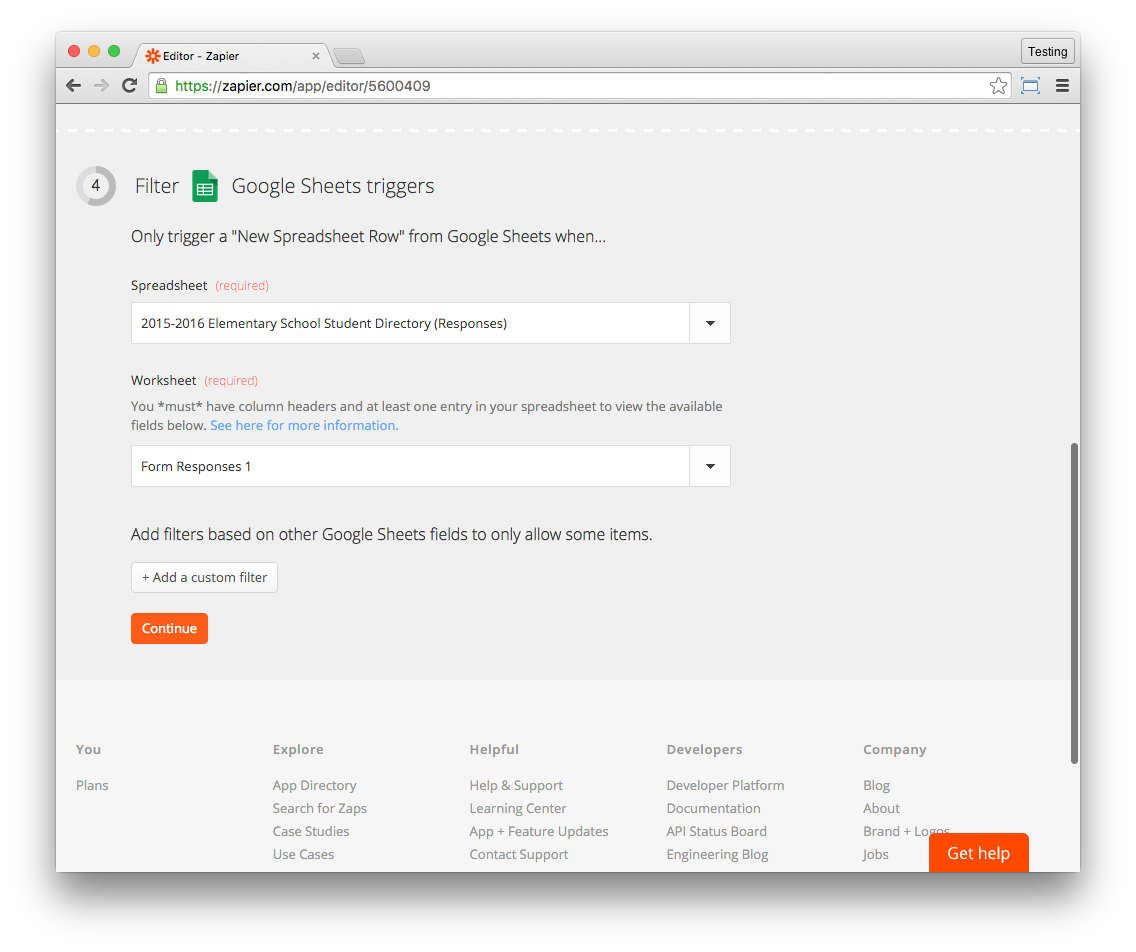
Here’s where things get interesting. We’re going to tell our zap to “look” in a specific Google Sheet and workbook (a page) for the new rows that will trigger our automation.
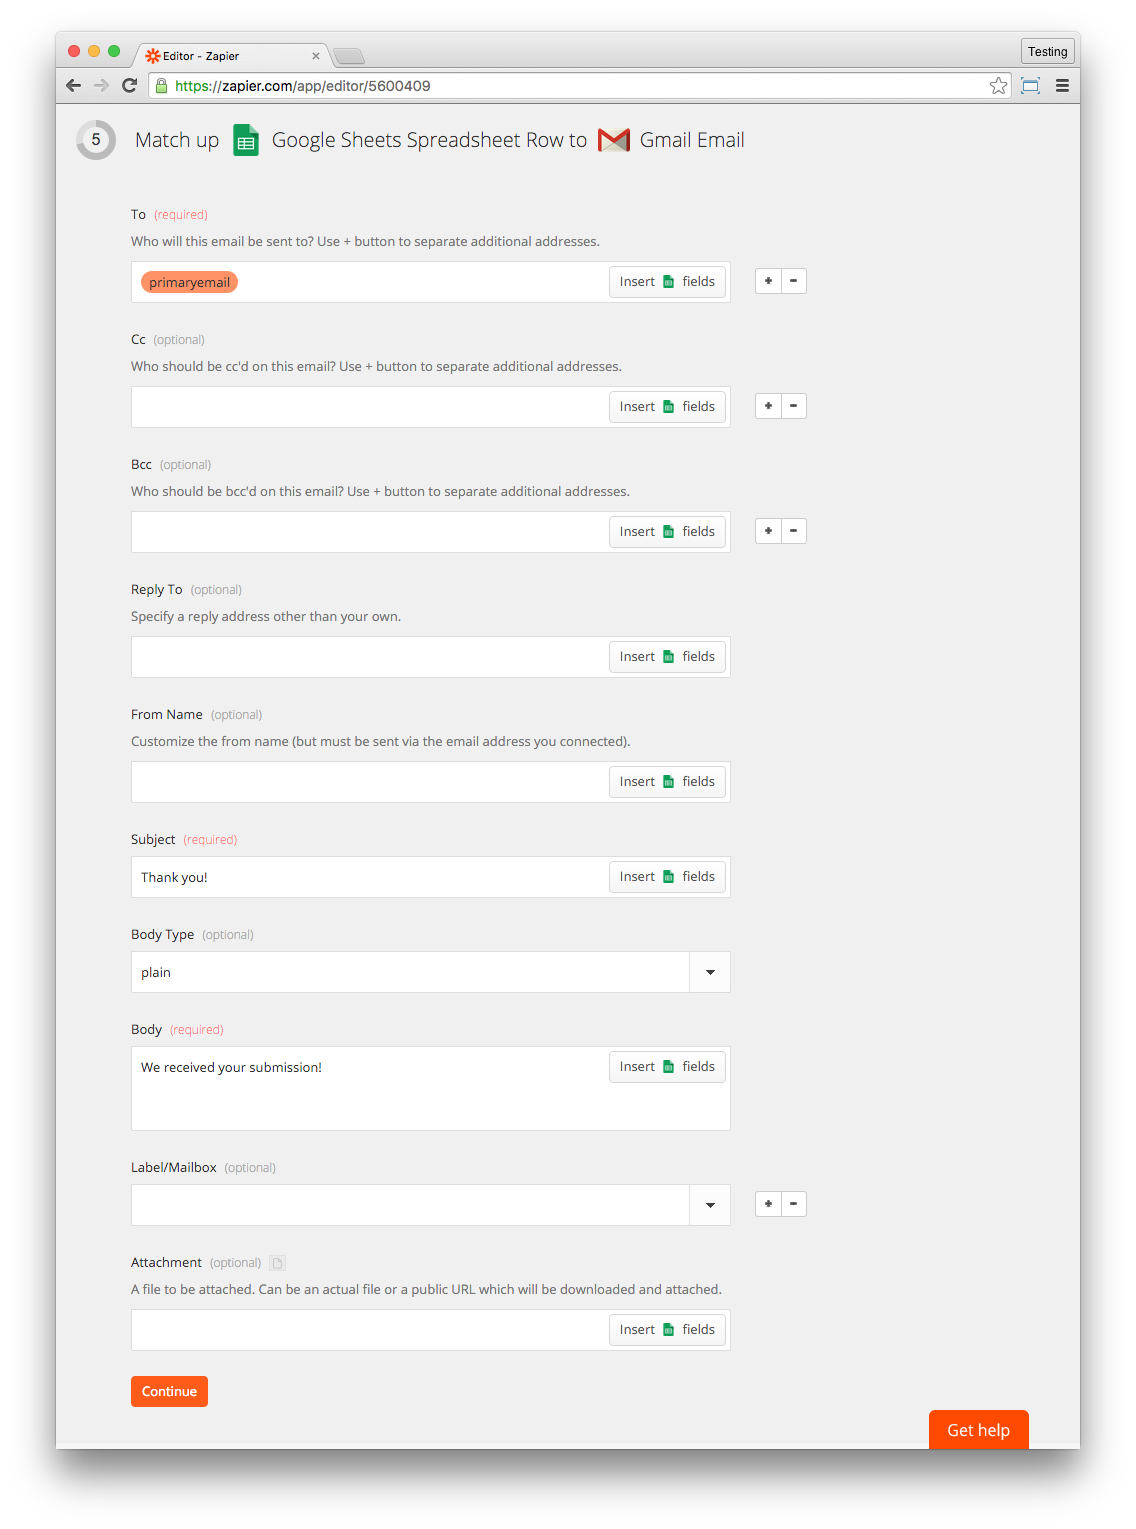
Now we’re going to build the email you’d like to send to your form submitter. The best part is that this person already gave us their email address on the form, so we’re just going to pluck that same address right from their submission and use it to send them the confirmation email.
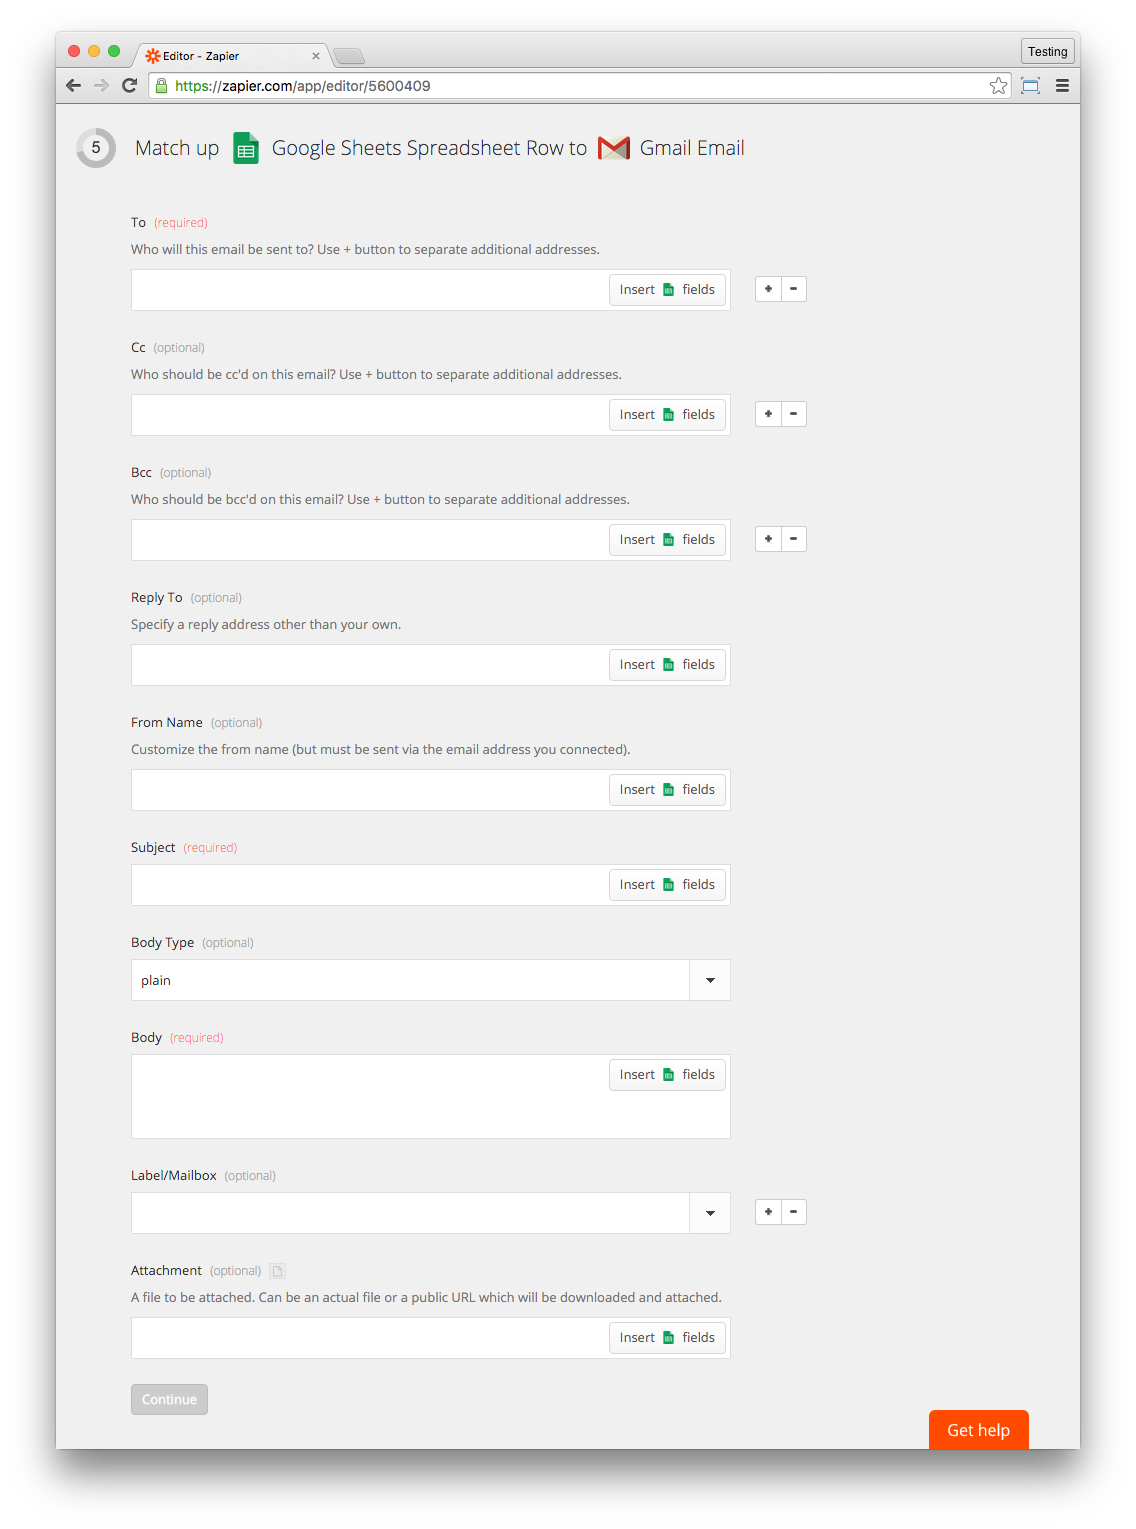
Complete the information you’d like to send to your form submitter. Required fields are To, Subject, and Body.
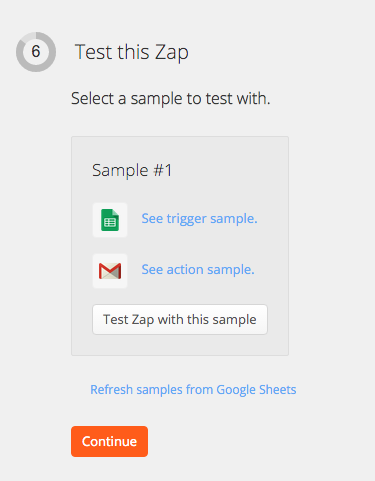
Test your sample and make sure it all looks the way you want.
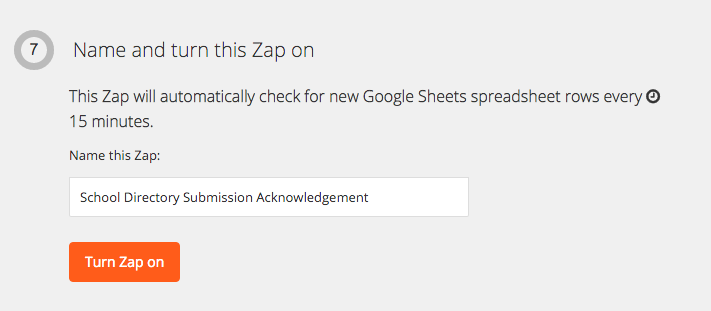
Name that zap and turn it on, and Bob’s your uncle. Every 15 minutes Zapier will run this zap and check the spreadsheet for new rows. People fill out the form, a new row is created, and they’ll get a thank you email, with no extra work from you.
And that’s just the tip of the iceberg. Zapier has countless zaps you can set up for Google Sheets, Gmail, and hundreds of other applications.
Check out our form in this example (feel free to duplicate it) to experiment for yourself. I know you’ll start thinking about other data collection problems in life that you can solve with this kind of automation workflow.